TouchOSC Mk1 Manual
Setup CoreMIDI Network Session
This tutorial describes how to set up a CoreMIDI Network session with a WiFi-enabled OS X computer. To use this type of connection with a computer running Windows, please consult http://www.tobias-erichsen.de/rtpMIDI.html
- First make sure both your device and your computer are connected to the same WiFi network
- Start TouchOSC and make sure the CoreMIDI connection is enabled
- Next open the Audio MIDI Setup application on you computer which can be found in Applications > Utilities
- If the MIDI Studio window is not visible open it from the menu bar by selecting Window > Show MIDI Window
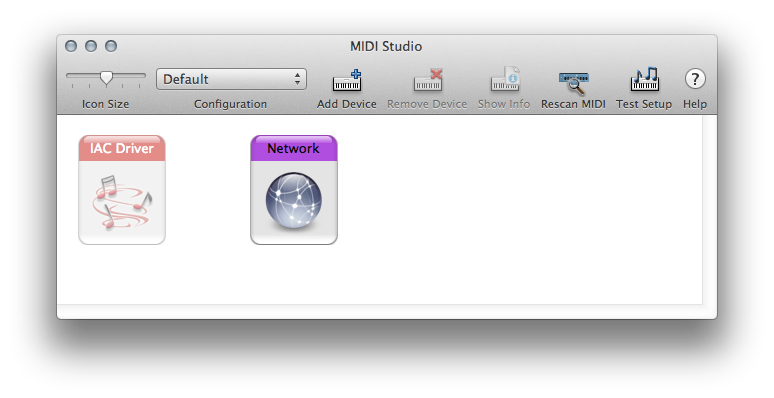
- Double-click on the Network icon, which will open the MIDI Network Setup window
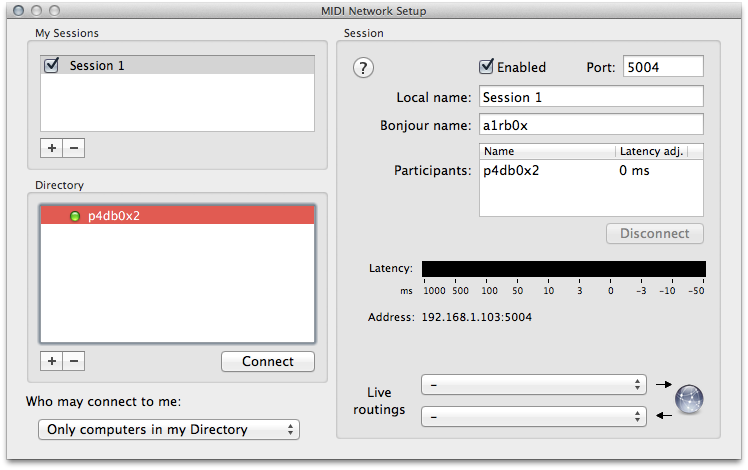
- Here you should now see the name of your device listed in the Directory panel. Select it and press Connect
- Your device should now be added to the list of Participants and is now ready to receive and send MIDI messages. Note that multiple devices can be connected to the same CoreMIDI network session
- From here on you should be able to select the Network Session as a MIDI input/output in any OS X application that supports CoreMIDI